The Ultimate Guide to Whipping Cream: From Mousse to Piping Flowers
The Ultimate Guide to Whipping Cream: From Mousse to Piping Flowers
Mastering whipped cream unlocks countless desserts! Discover pro techniques for perfect texture every time.
Steps to Whip Cream
- Chill bowl + beaters. Pour cold heavy cream (35%+ fat) into the bowl.
- Whip on high speed until soft trails form.
- Add fine sugar (7-10% of cream weight). Continue whipping.
60% Whipped: Perfect for Mousse & Coloring
Texture: Pourable, soft trails.
Use: Mousse, tiramisu, or coloring (add gel food dye now to avoid graininess!).
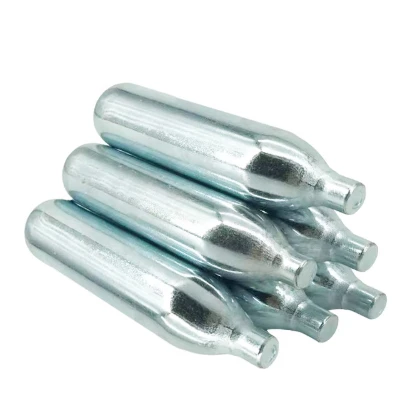
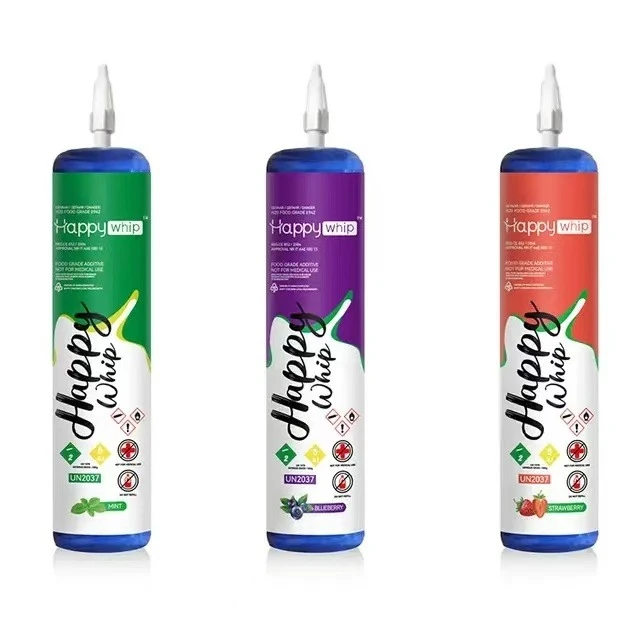
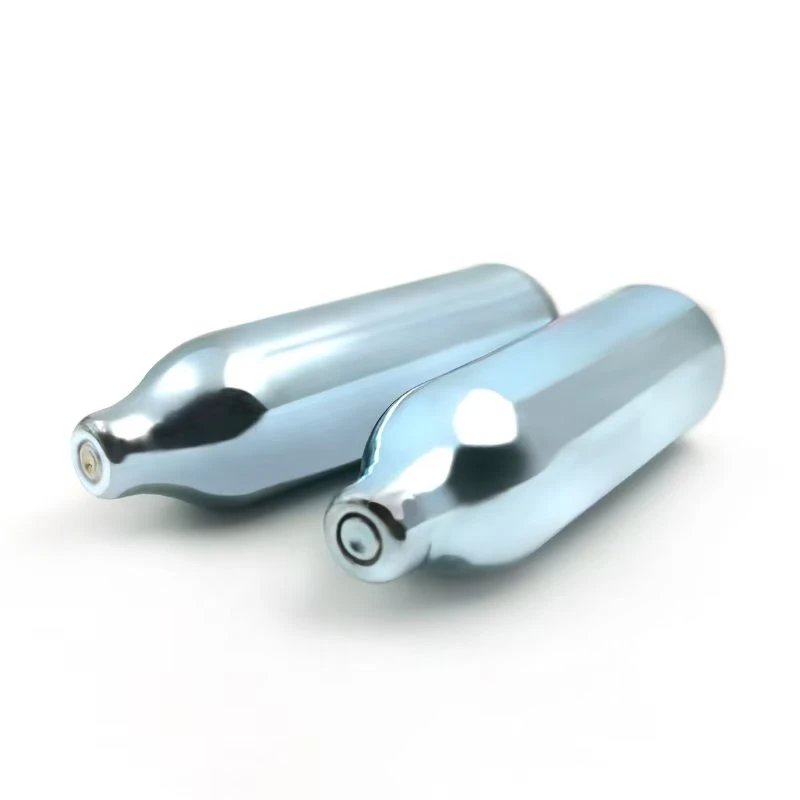
Pro Tip: For ultra-stable mousse foam, use an N2O cream charger instead of whipping!
80% Whipped: Frosting Ready
Texture: Soft peaks (curved tips).
Use: Cake frosting, simple piping.
90% Whipped: The Piping Sweet Spot
Texture: Stiff peaks (sharp tips).
Use: Detailed flowers, borders, 3D designs.
100% Whipped: Whipped: Fillings
- Texture: Thick, clumpy, no peaks.
- Use: Pastry fillings, puff stuffing.
Over-Whipped? Save It!
Transform it into homemade butter or use in baked goods.
Pro Tips
Stay cold: Cream/bowl must be fridge-cold. Warm cream fails!
Stability Boost: Add 1 tsp cornstarch per cup of cream (mix with sugar first).
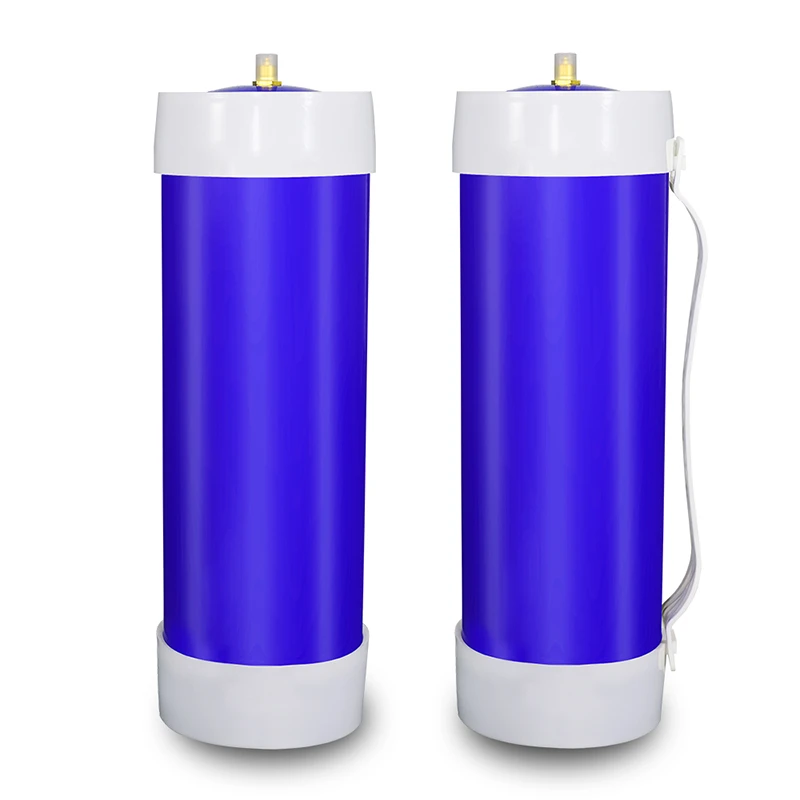
N2O Cream Charger Hack: For silky, long-lasting foam in mousses or espuma, charge cream with N2O instead of whipping—ideal for professional textures!
Low & Slow: Reduce speed near target stage to avoid over-whipping.
Create show-stopping desserts with perfectly whipped cream or explore N2O cream chargers for next-level textures!
-
Rapid Ice Cream Preparation with N₂O Cream Chargersಸುದ್ದಿJul.25,2025
-
Whipped Cream Charger Threaded Valve Sealing Test, Cream Chargerಸುದ್ದಿJul.14,2025
-
Whipped Cream Charger Tailored Threaded Nozzle Designಸುದ್ದಿJul.14,2025
-
Scuba Oxygen Cylinder Thermal Insulation Coatingಸುದ್ದಿJul.14,2025
-
Gas Cylinder Manufacturers Stainless Steel Valve Designಸುದ್ದಿJul.14,2025
-
Gas Cylinder Food Grade CO2 Storage Capacityಸುದ್ದಿJul.14,2025
-
Cream Charger Nitrous Oxide Filling Processಸುದ್ದಿJul.14,2025
ಸಂಬಂಧಿತ ಉತ್ಪನ್ನಗಳು

